¶ Unstable WiFi connection problem
Note: This issue applies to devices without external antennas, including A1 series, X1C, etc.
Currently, Laser Engraving Machine uses STA mode, which means that the device itself does not transmit WiFi signals. It needs to connect to the existing 2.4G band WiFi, and the terminal used for operation also needs to connect to the WiFi. There may be a situation where Laser Engraving Machine fails to automatically connect to WiFi after powering on. In this case, the STA mode used by Laser Engraving Machine can be changed to AP mode. In AP mode, the device itself will transmit a WiFi signal, and the terminal used for operation can connect to the WiFi to operate the device, and the stability will be greatly improved. The specific operations are as follows:
Before proceeding, you need to install the USB driver and LightBurn on your computer. USB driver installation tutorial:
1. Use a USB cable to connect the device to the computer and turn it on.
2. Open LightBurn and connect to the correct port.
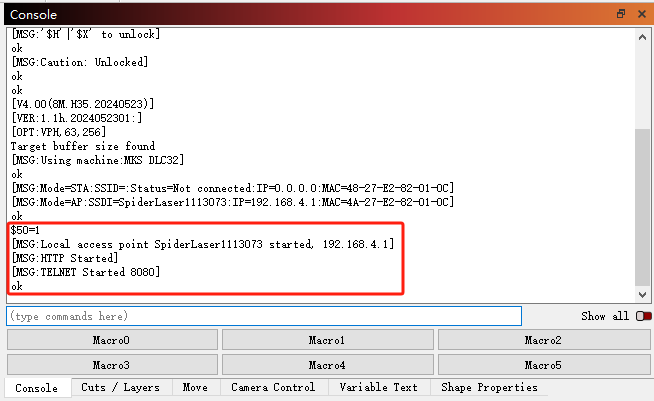
3. In the Console interface on the left side of LightBurn, in the input bar below (as shown in the figure below)
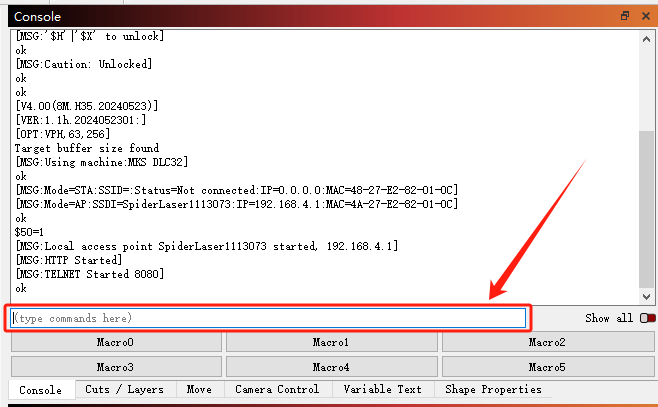
Enter 3 commands, pressing the Enter key to send each command:
$50=1
$51=WiFi Name
$52=WiFi Password
You can set the WiFi name (English + numbers) and password as needed. When the command is entered correctly, the software will return an "OK" message (as shown below)
After setting the three commands, unplug the USB cable and restart the device.
Use your phone to find and connect to the WiFi, enter: 192.168.4.1 (as shown below) in the phone APP and click Connect.

To use the APP, you need to insert the Laser Engraving Machine into the TF card. After confirming that the engraving file has been transferred and starting engraving, there is no need to keep the APP open or connected to the device's WiFi. You can close the APP and disconnect the WiFi connection and wait for the engraving to be completed.