¶ 1. Preparation
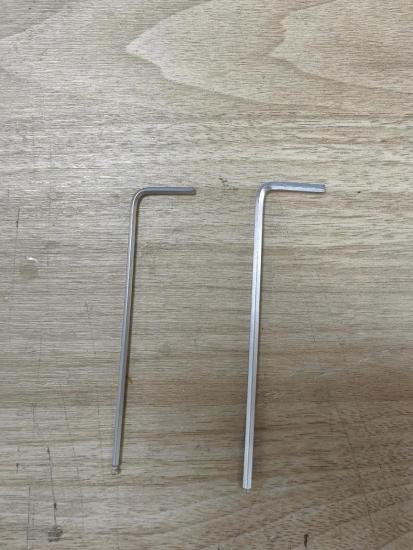
¶ 1.1 Tools required to replace the motherboard
-Hexagon wrench(As shown below)
¶ 1.2 Work environment preparation
-Keep your work surface clean and dust-free
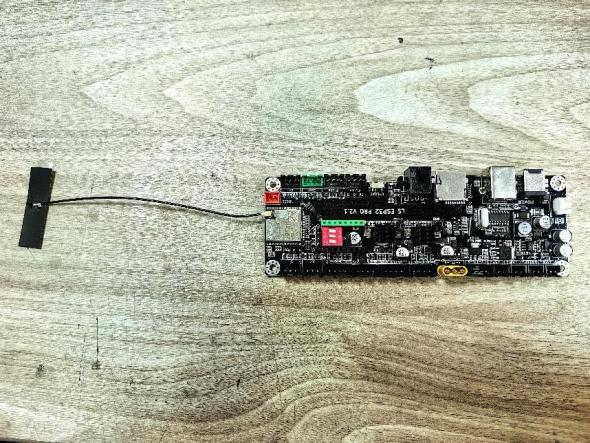
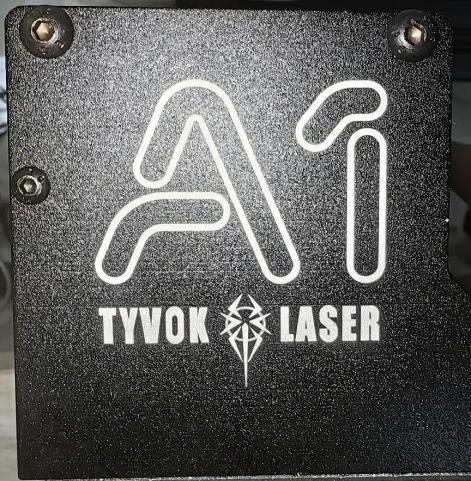
¶ 1.3 Motherboard selection
-Choose the right motherboard according to the model of laser engraving machine
- Confirm that the motherboard specifications are the same as the original motherboard (As shown below)
¶ 1.4 Power failure processing
-Make sure the laser engraving machine is completely powered off, unplug the power supply and all connecting cables
¶ 2. Disassemble the old motherboard
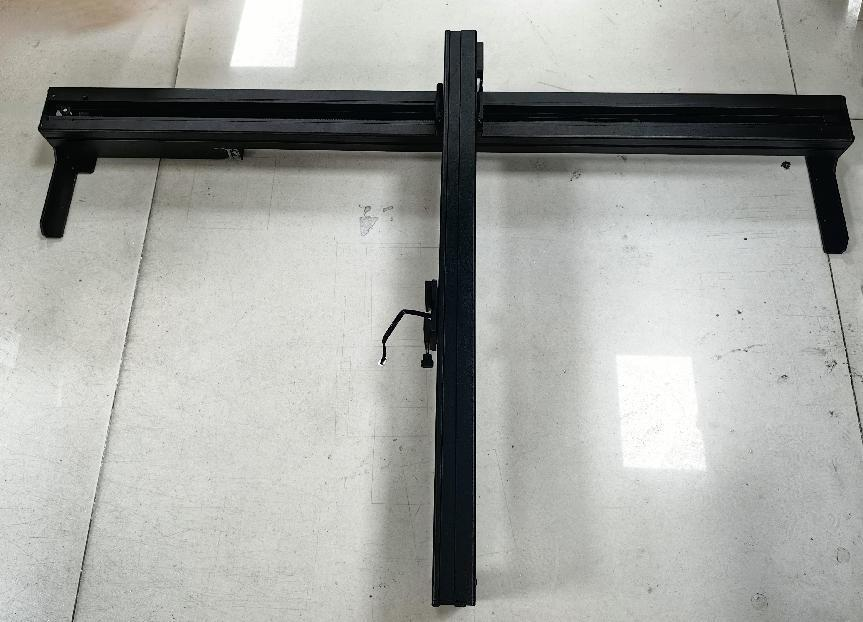
¶ 2.1 Placement of laser engraving machine
- Place the machine as shown below
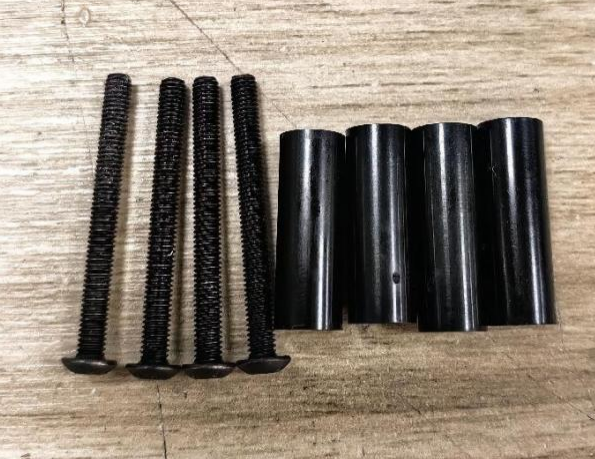
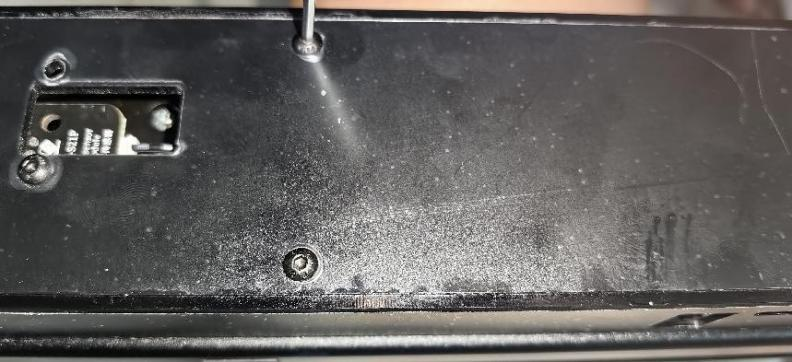
¶ 2.2 Remove the support leg fixing screws
-Find the screws that secure the support legs
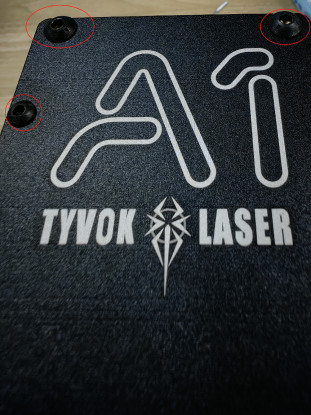
-Use the hexagonal wrench to remove the fixing screw
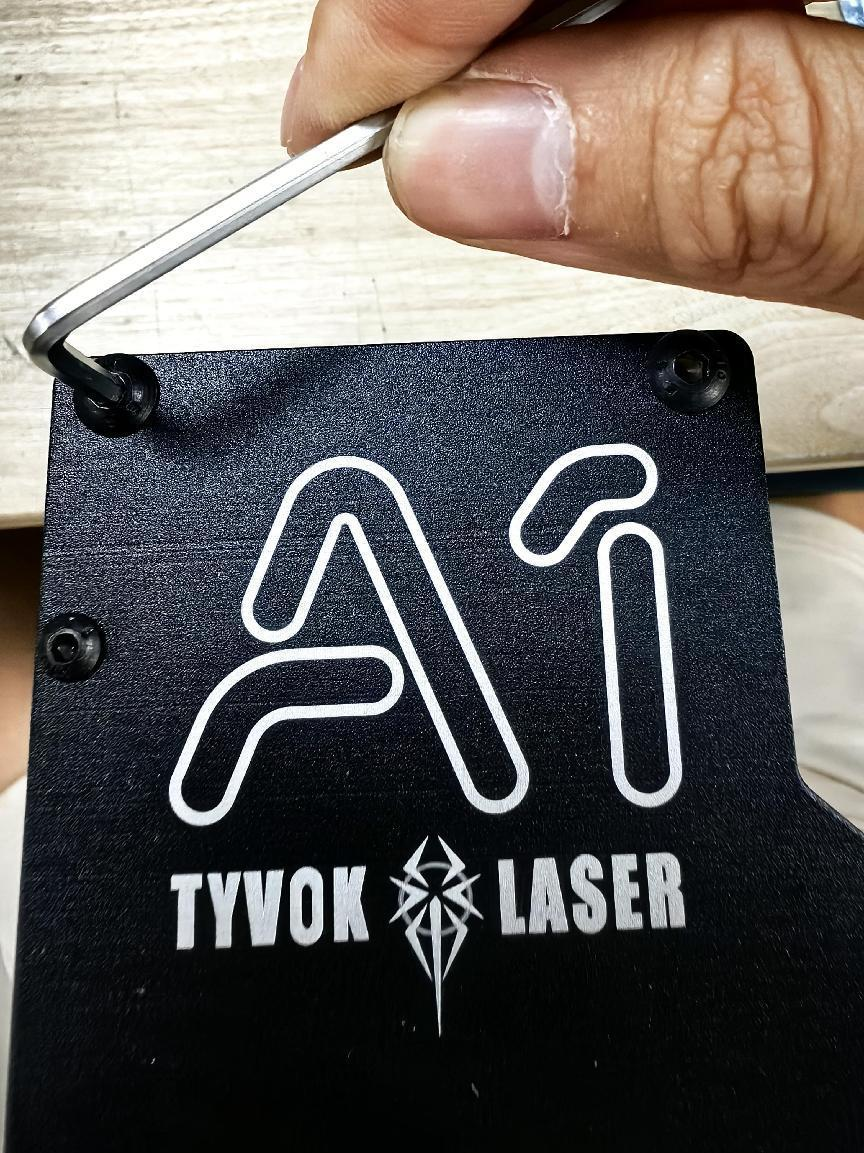
- Remove the screws and support legs (as shown in the picture)
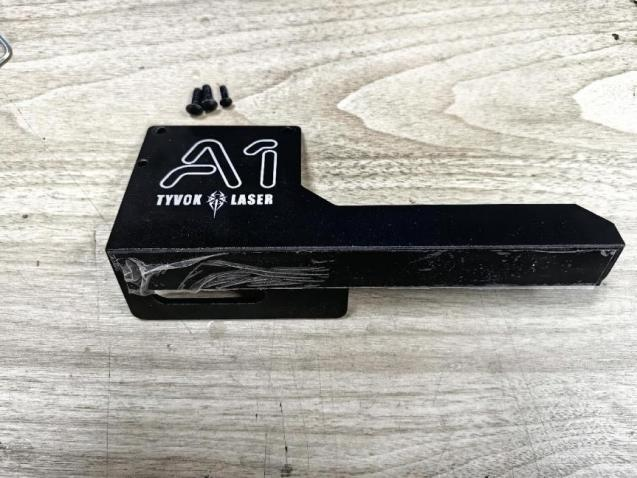
-Put the machine flat on the workbench (as shown in the picture)
-Remove the screws and heightening columns of the acrylic cover of the motherboard (as shown in the picture)
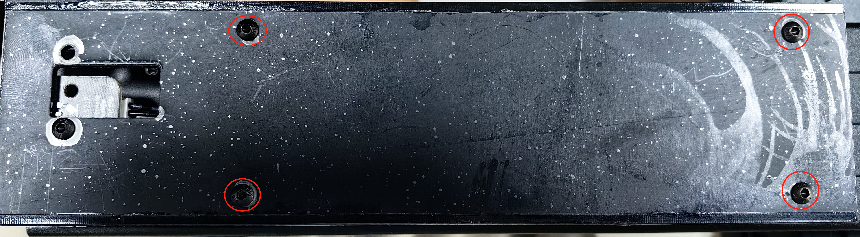
-Remove the screws and their heightening columns (as shown in the picture)
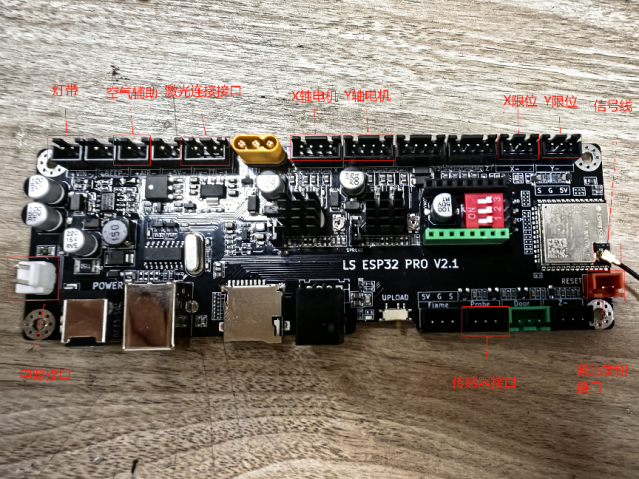
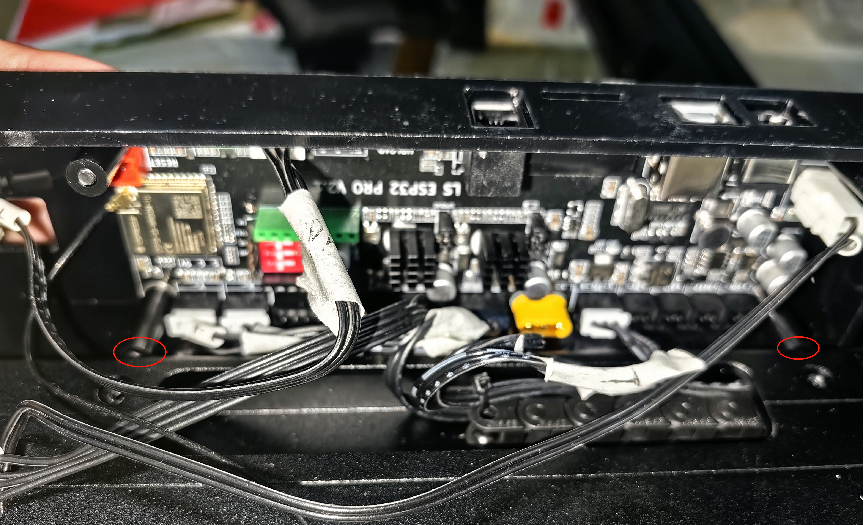
¶ 2.3 When removing the motherboard, you need to mark the line positions in advance and take photos (note)
-You can use masking paper to fill in the corresponding interface letters
(there are corresponding letters on the motherboard interface)
(front)
(back)
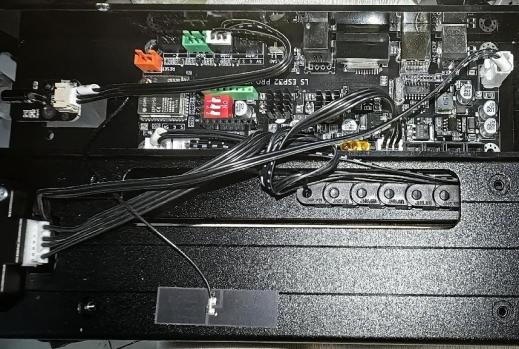
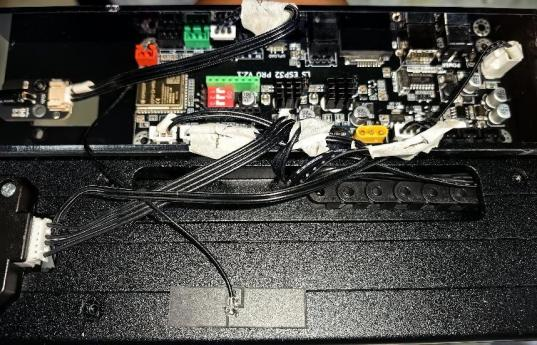
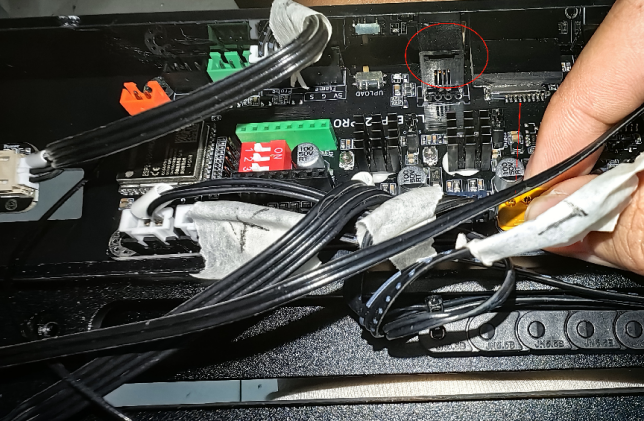
¶ 2.4 Remove the connection cable between the motherboard and the chassis
-Unplug the connection cables one by one
-Be careful not to damage the cables and interfaces during removal
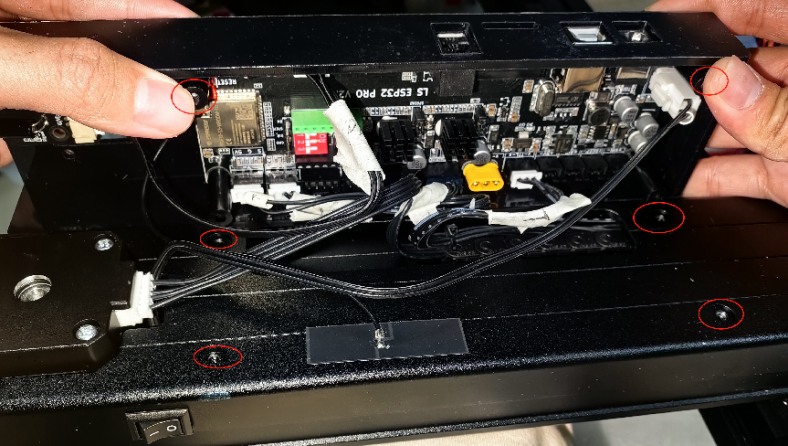
¶ 2.5 Remove the old motherboard
-After removing all the connecting wires, gently remove the motherboard from the case
-Be careful of the sensitive components on the motherboard and avoid touching or applying pressure
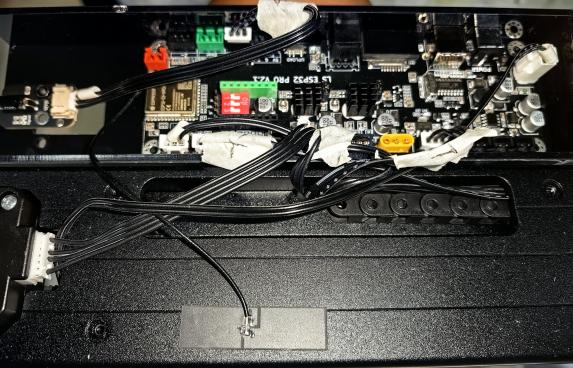
¶ 2.6 Board appearance and wiring interface diagram
After completing the above steps, the old motherboard has been successfully removed. Next, you can install the new motherboard.
¶ 3. Installation of new motherboard
¶ 3.1 Prepare tools and materials
-New motherboard
-Hexagon socket screw
-Anti-static wrist strap (optional)
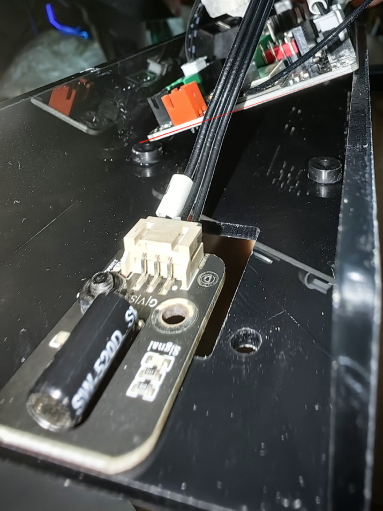
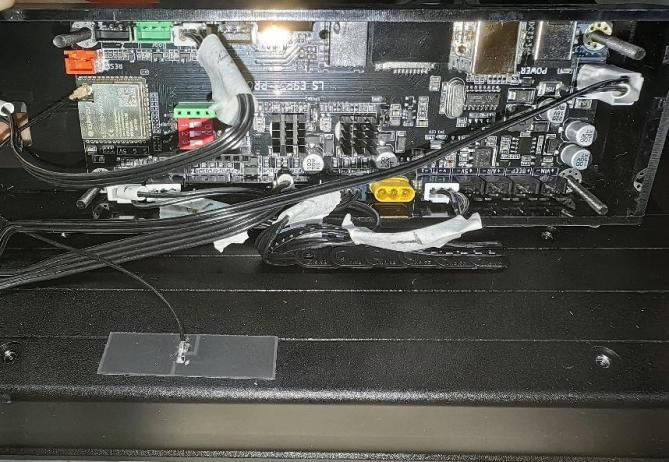
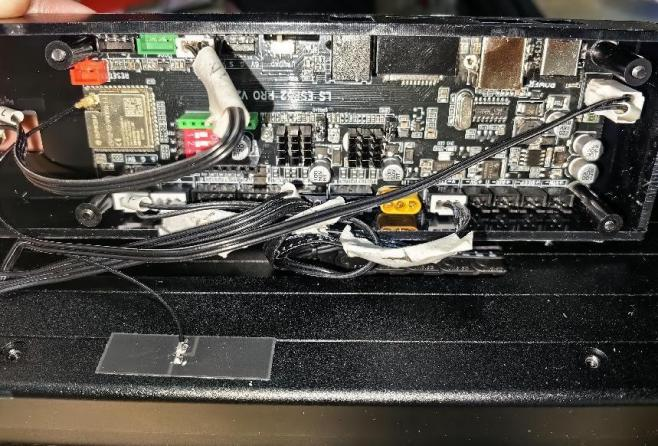
¶ 3.2.Motherboard wiring
-Refer to 2.3 and 2.6 to insert the wire into the corresponding position to ensure a firm connection.
¶ 3.3 Motherboard placement
- Align the motherboard power adapter port to the corresponding opening and screw holes on the acrylic cover
(as shown in the picture)

-Gently pick up the motherboard with your hands and tilt it downward to its original position, and push the motherboard forward to align its screw holes and the power adapter opening (as shown in the picture)
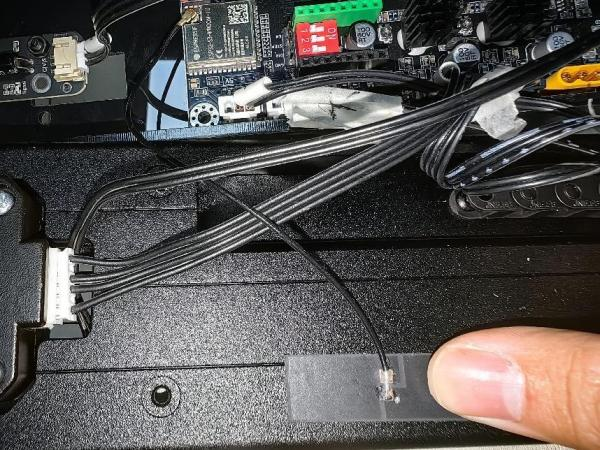
¶ 3.4 Installation of signal lines
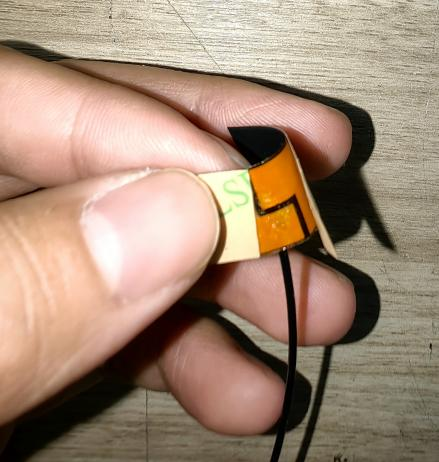
-Tear off the protective sticker of the signal cable (as shown in the picture)
- Stick the torn signal cable to the outer wall of the machine and press it flat with your hands without any bubbles
(as shown in the picture).
¶ 3.5 Installation of heightening columns and screws
-Insert the screws into the screw holes of the acrylic cover (gently press the motherboard to prevent it from falling)
(as shown in the picture)
- The heightening column should be aligned with the acrylic cover screw hole and the motherboard screw hole to facilitate the positioning and installation of the screws (as shown in the figure)
¶ 3.6 Installation of the acrylic cover of the motherboard
-After installing the screws and the heightening column, press the screws with four fingers to prevent them from slipping when reinstalling the acrylic cover (as shown in the picture)
-Then push the two screws below against the machine wall (as shown in the picture)
-Press the two upper heightening columns with your thumbs to prevent them from slipping, then align the four heightening columns with the screw holes, slowly close the cover, and gently move the cover until the heightening columns enter the groove of the robot arm (as shown in the picture)
-Use the hexagonal wrench to tighten the screws
-Reinstall the support legs and fixing screws
(front)
(back)
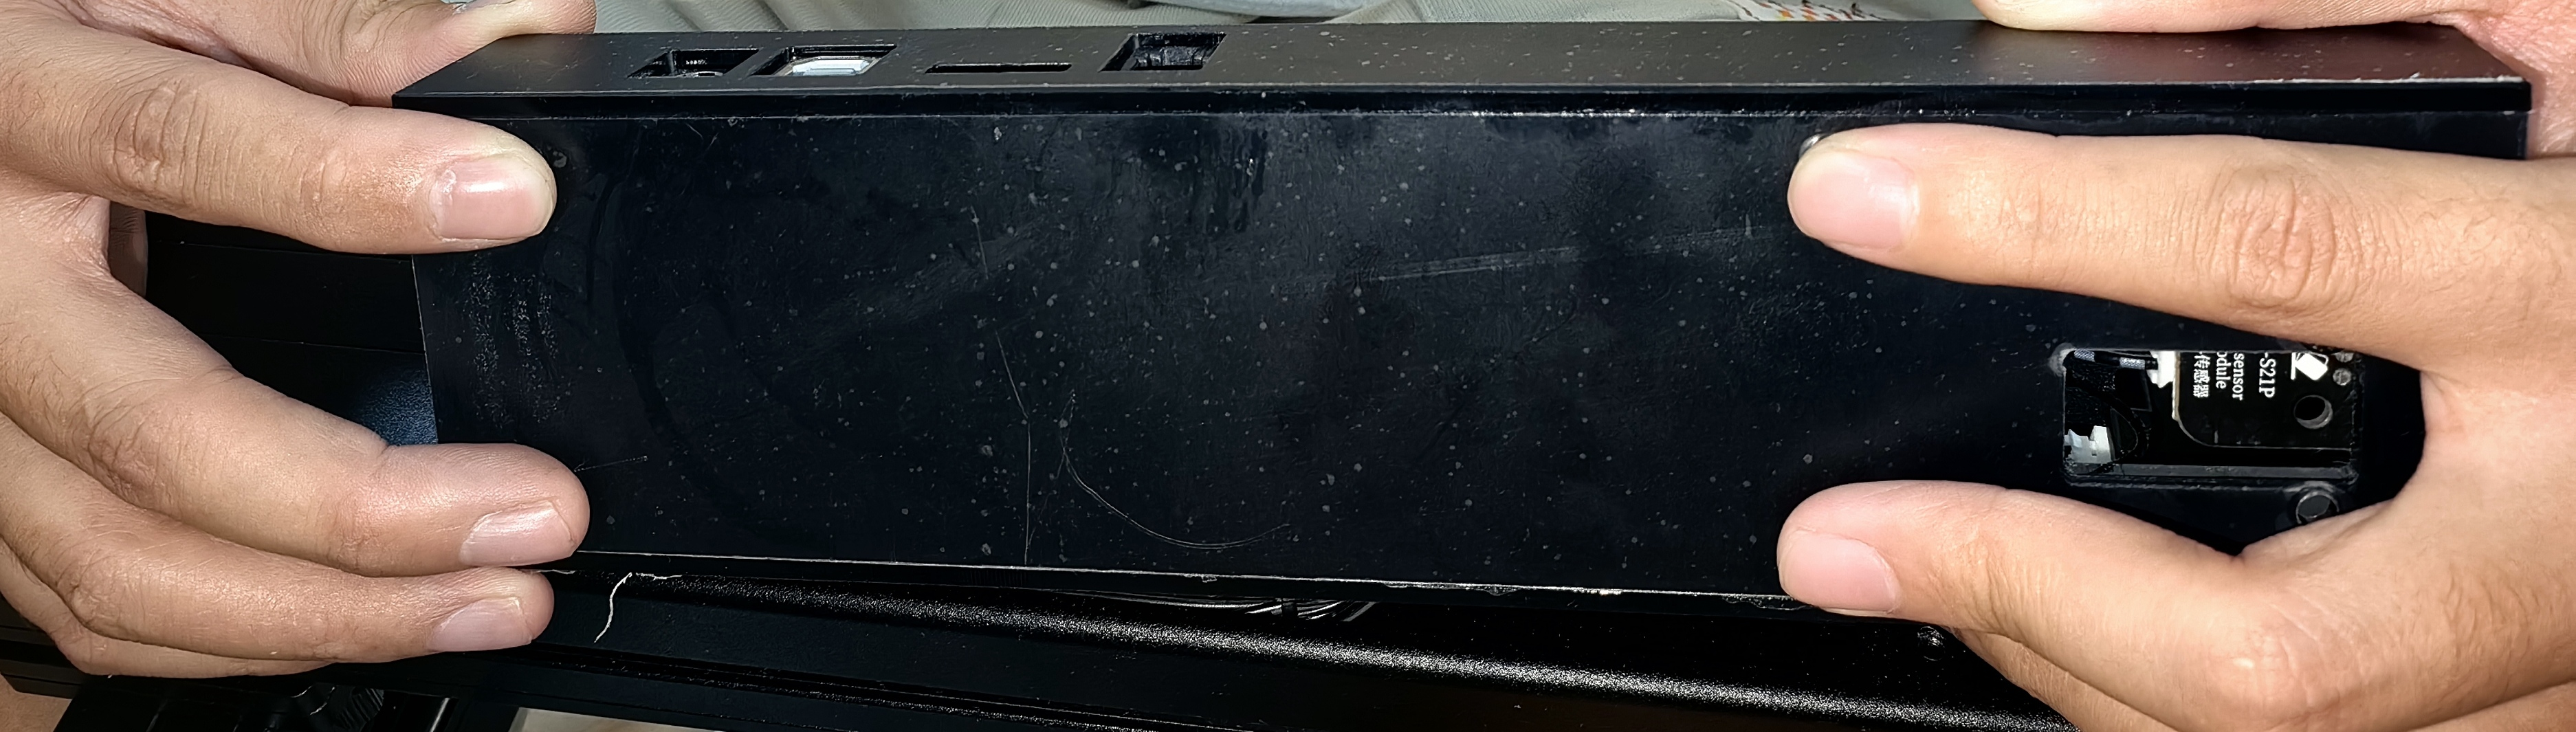
-Put the machine flat on the workbench and shake it to see if it is stable. If it is not stable, adjust the supporting legs until it is stable.
¶ 4. Debugging and testing
¶ 4.1 Basic debugging after motherboard replacement
¶ 4.1.1 Check the power supply
-Confirm that all power cables are correctly and firmly connected to the new motherboard
- Check that the power plug is intact and undamaged
- Confirm that the cutting and engraving parameters, such as speed, power and focal length, are set appropriately
¶ 4.2 Laser test
4.2.1 Laser generation test
- Check whether the laser tube is powered normally and observe whether the laser is stably emitted
- If the laser intensity is insufficient, check whether the laser power output is normal
4.2.2 Laser path calibration
-If the laser path is offset, remove the laser head and check whether the laser head light outlet is in the correct position.
¶ 4.3 Cutting and engraving function test
¶ 4.3.1 Material processing test
- Carry out small area engraving and cutting tests using common materials
- Check whether the cutting depth and engraving quality meet expectations
¶ 4.3.2 Long running tests
-Let the laser engraving machine work continuously for a period of time to check the stability and heat dissipation of long-term operation
- Observe whether the machine has abnormal noise or overheating
¶ 4.4 Software and Driver Testing
¶ 4.4.1 Software compatibility test
-Confirm that the new motherboard is compatible with the LightBurn software
-Install the latest driver to ensure that the device is correctly identified in the Lightburn software
¶ 4.4.2 Fault simulation test
-Simulate common fault tests such as power failure, communication failure, etc. to ensure that the machine can respond correctly and give prompts
-Perform limit test to check whether the limit switch is sensitive
¶ 4.5 Usage and safety test of the screen operation interface
- Check whether each function of the test screen can operate normally
- Check whether the operation interface has clear operation instructions and safety warnings
Through the above steps, you can ensure that the laser engraving machine can run safely and stably after replacing the mainboard and achieve the expected cutting and engraving effects.