¶ Older version M1 removing wire rail fixing screws
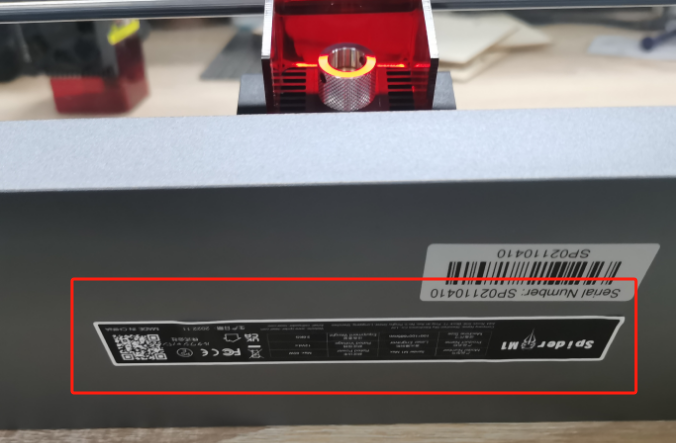
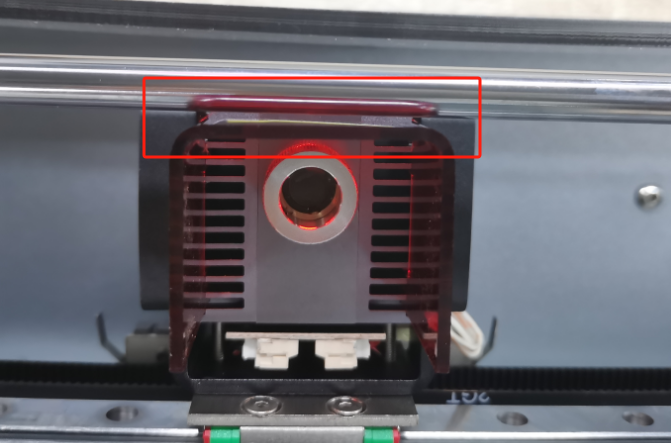
The old version of the M1 has a protruding fixing screw for the line rail causing the acrylic protective cover of the laser head to easily rub against the optical axis in front of it, leading to problems with the engraving, the solution is as follows:
1. The tools needed: 2mm Allen wrench
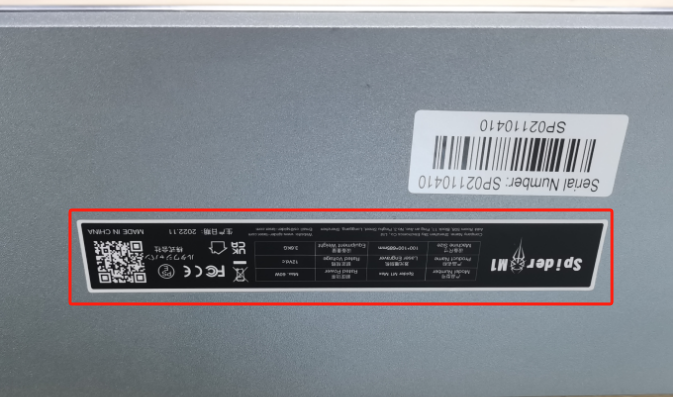
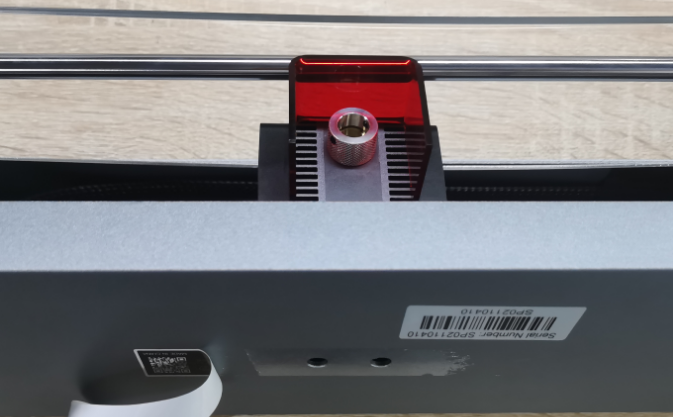
2. Remove the sticker on the back of the M1 and you can see the two screw mounting holes.
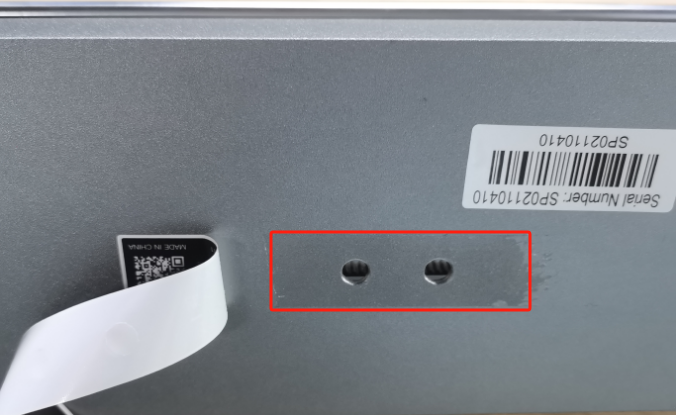
3. Move the laser head manually to the location of these two screw holes, and you can see the screws from both holes.

4. Use a hexagonal wrench to reach into the hole and unscrew the two screws. (Note: The laser head is fixed by these two screws, please be careful with the laser head falling.)
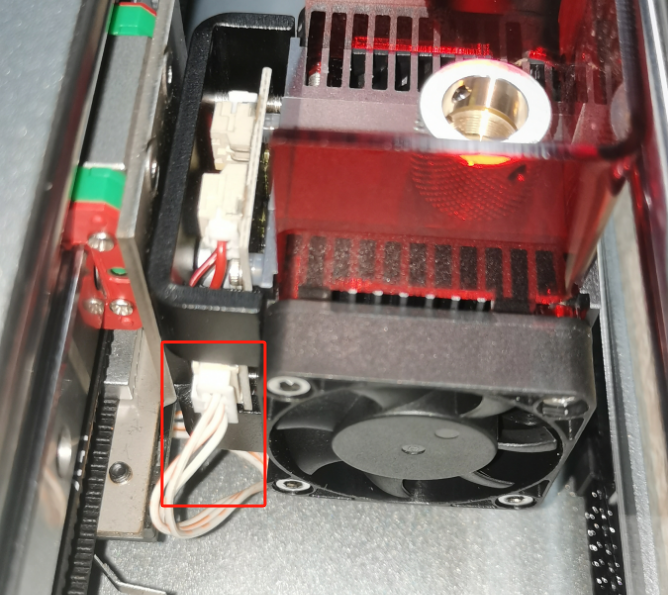
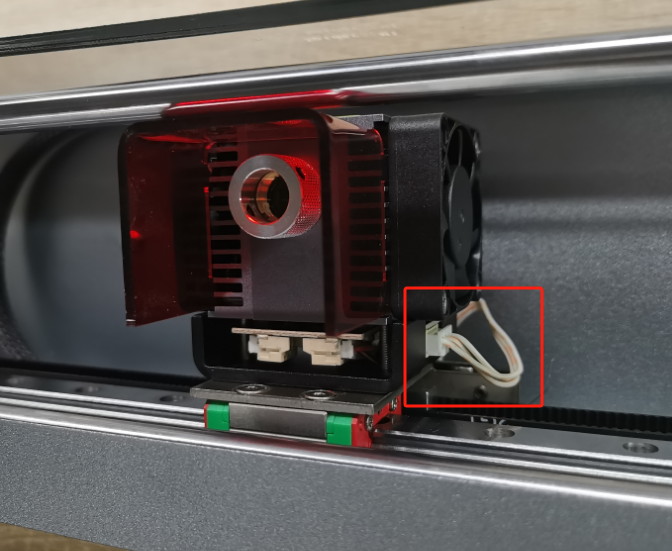
5. Unplug the power cable from the laser head.
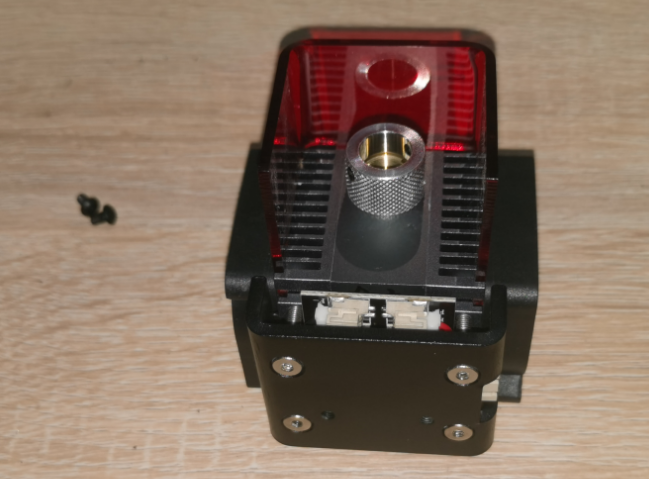
6. After unplugging the terminal, you can remove the laser head, you need to keep the two screws.
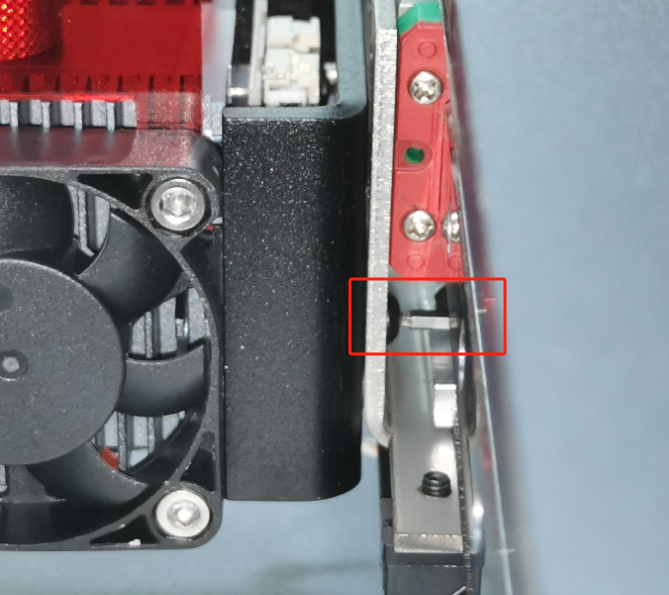
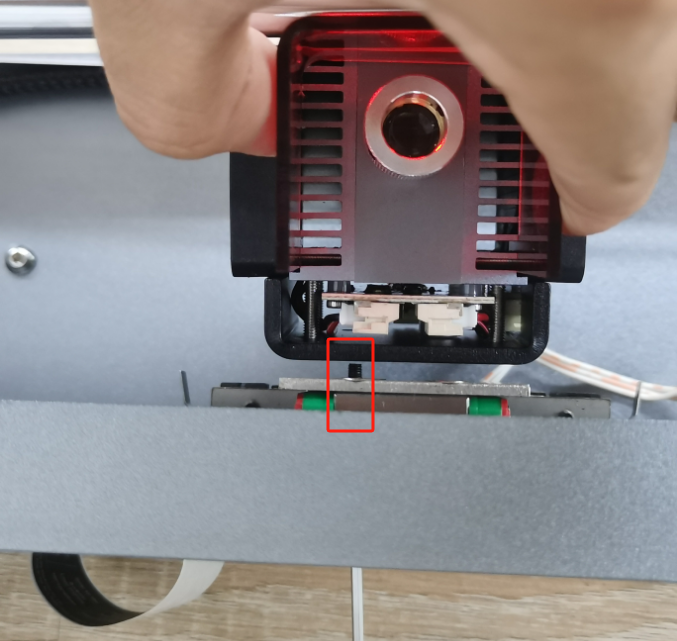
7. After removing the laser head, you can see the fixing plate of the wire rail slider, you need to remove the screws circled in the picture.

8. After removing the two screws shown above, test whether the other two screws are locked, if not locked back to cause the slider to shake.

9. Using a hex wrench, insert the black screws into the screw holes on the back (at this point it is necessary to flatten the M1 or use a hex wrench that is magnetic to ensure that the screws will not fall out during this operation) and extend them out of the slider mounting plate on the front.


10. Put the laser head in, screws aligned with the holes on the back of the laser head, and screw in two screws, but don't tighten them yet.
11. After screwing in the two screws, shake the laser head left and right to adjust the laser head, to ensure that the acrylic housing of the laser head at this time and the front of the optical axis is parallel, and then tighten the back of the two screws.
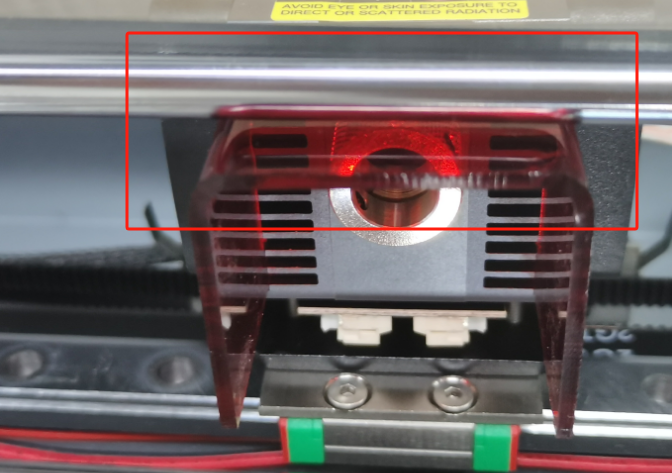
12. Plug the laser head's power supply cable back in.
13. At this point you can see the laser head acrylic housing and the outer optical axis now exists gap, will not rub each other.
14. Finally, the back of the sticker back, complete.