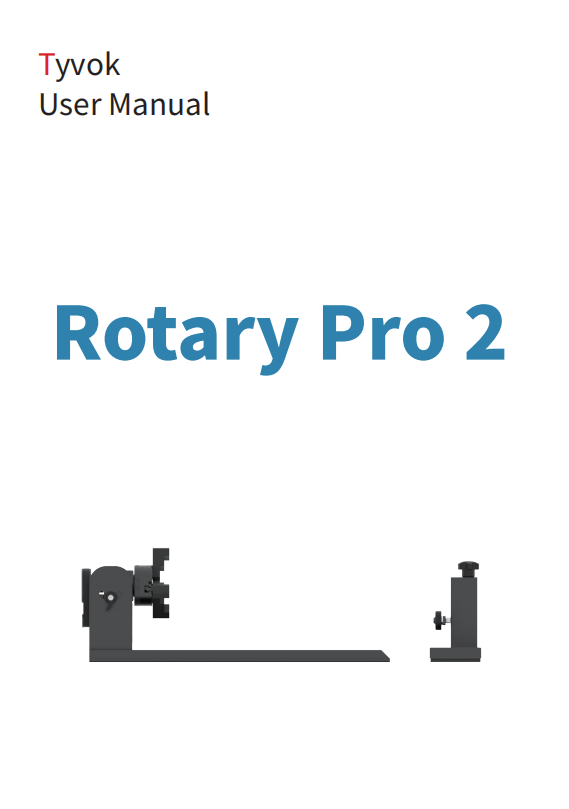
¶ Rotary Pro 2
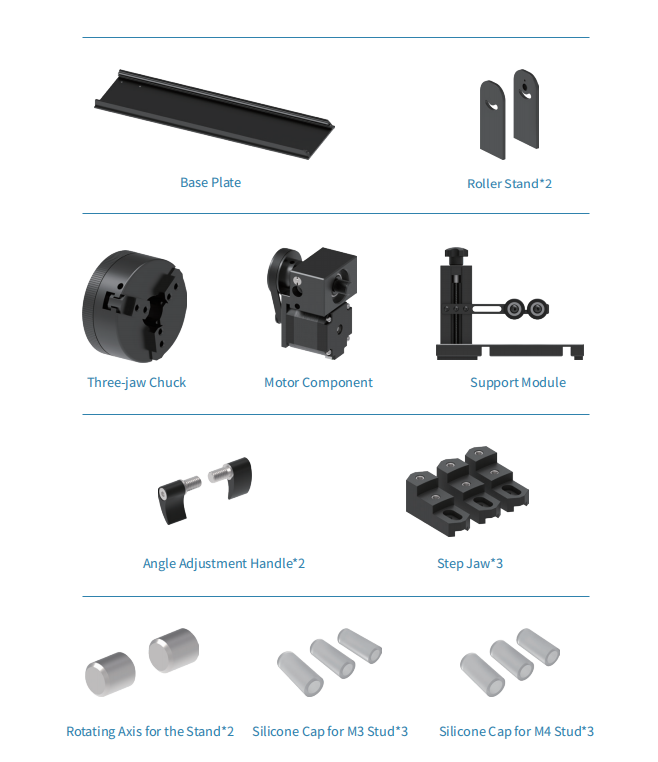
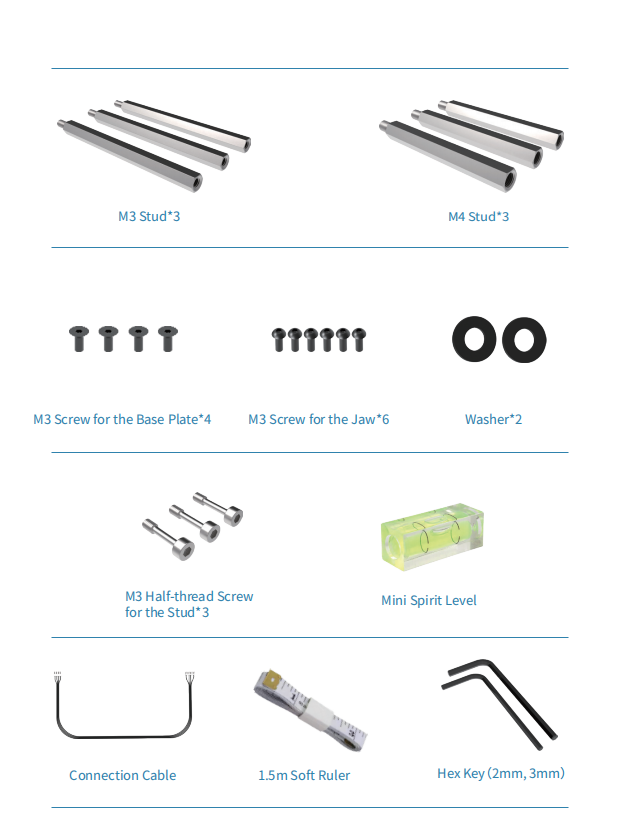
¶ 1.Packing List
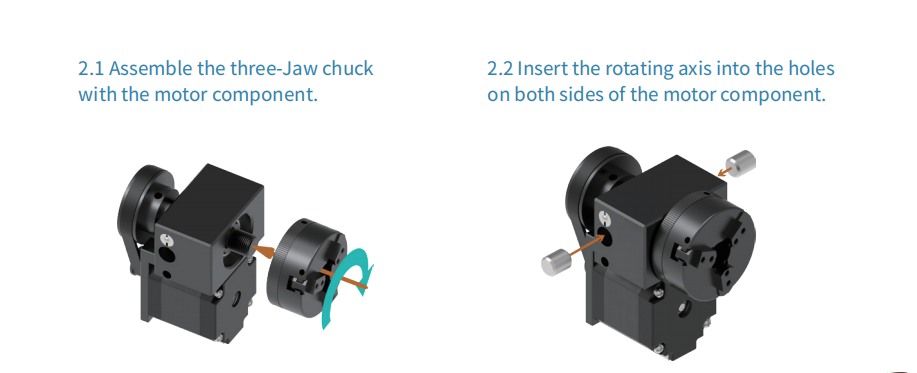
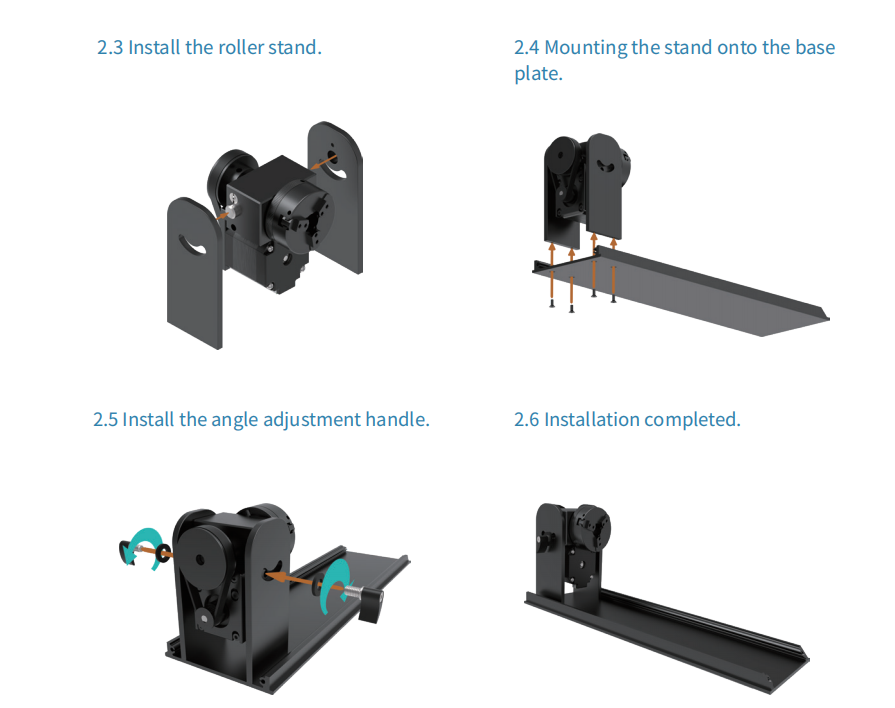
¶ 2. Installation Guide for Jaw
¶ 3. Module Using Method and In stallation
3.1 Module Combination and Specifications
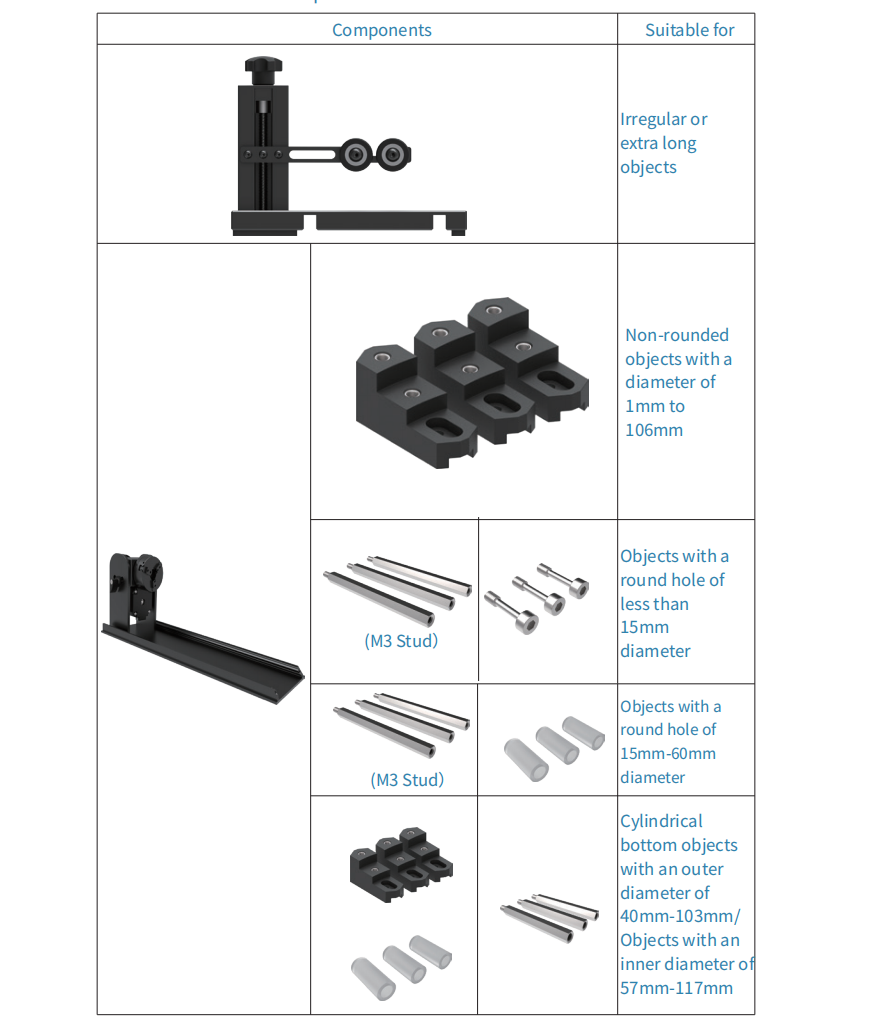
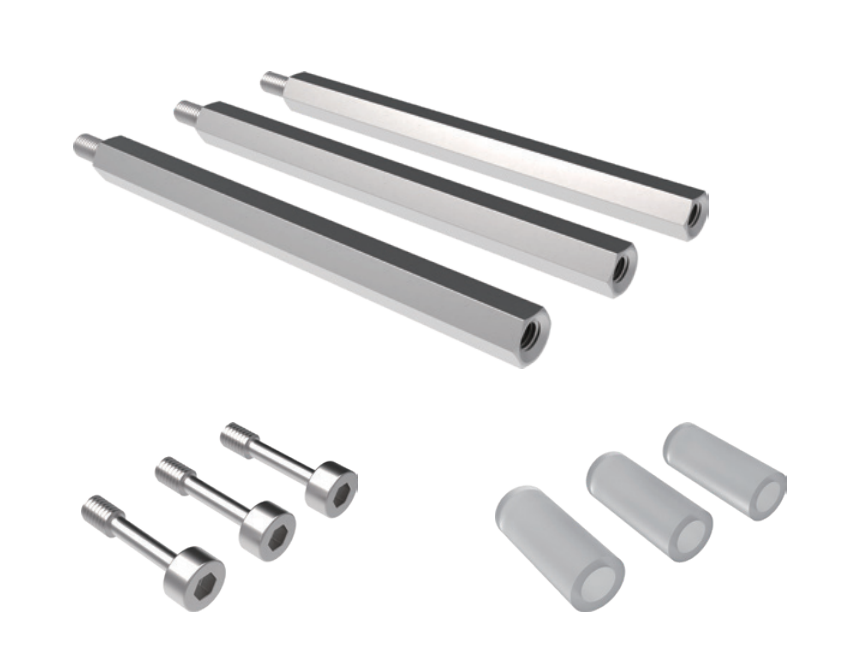
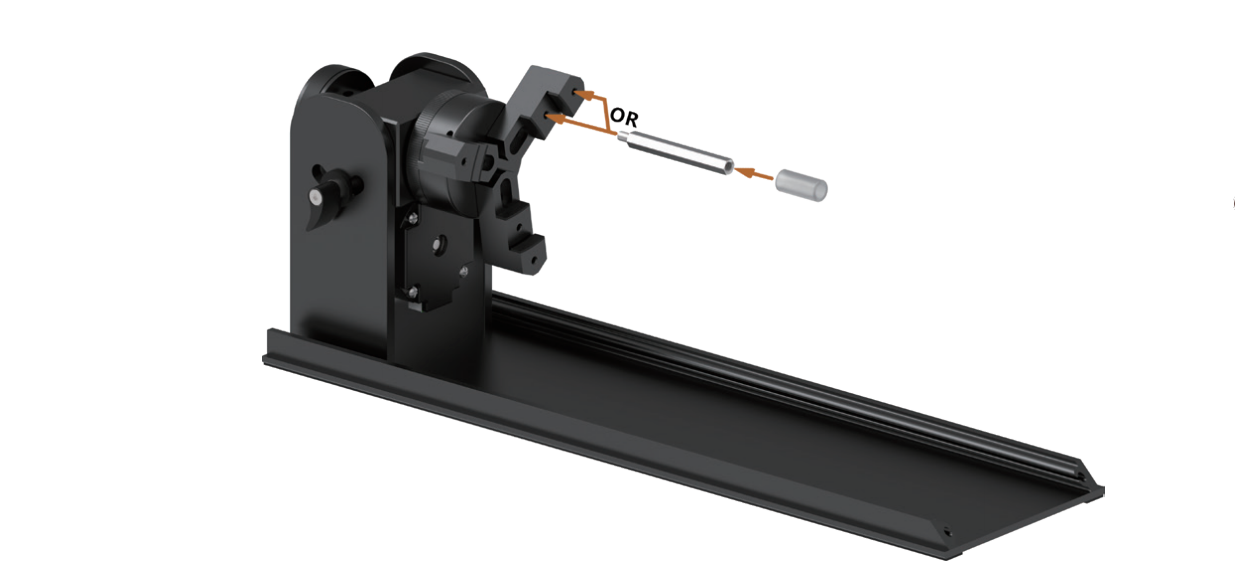
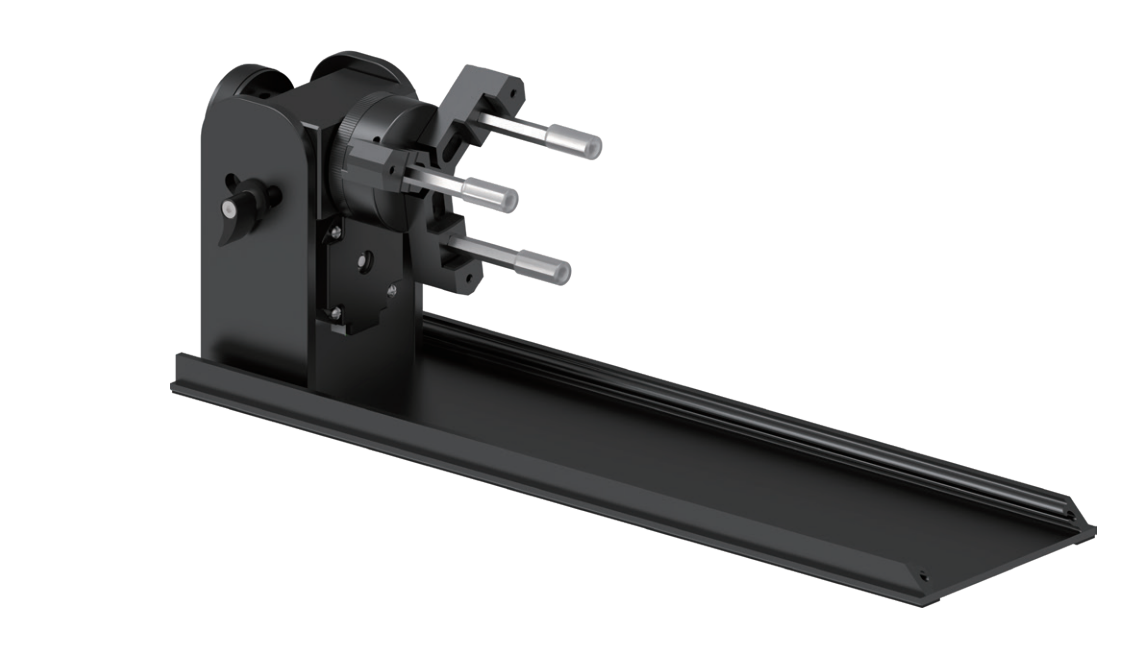
Note: You can install a silicone cap on the stud to prevent damage to the surface of engraved objects.
3.2 Support Module
3.2.1 Using Method
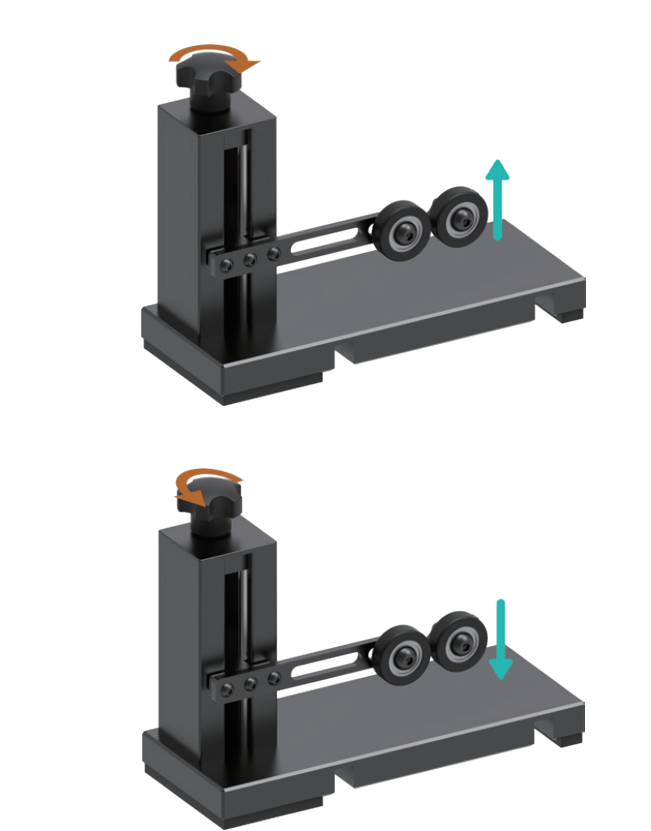
3.2.2 Position Adjustment
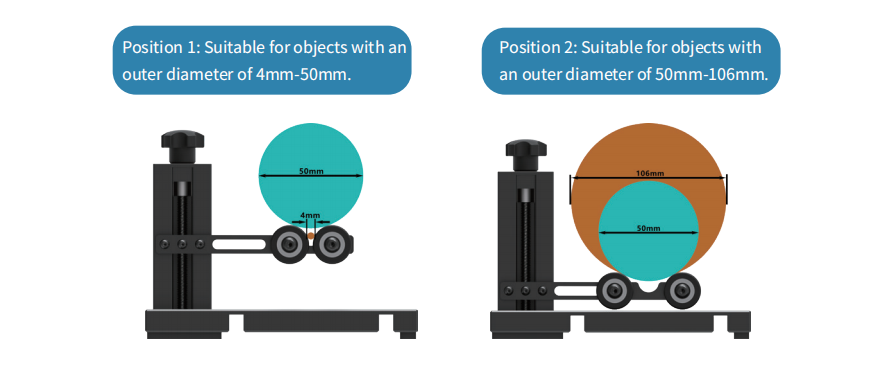
3.2.3 Position Adjustment Method
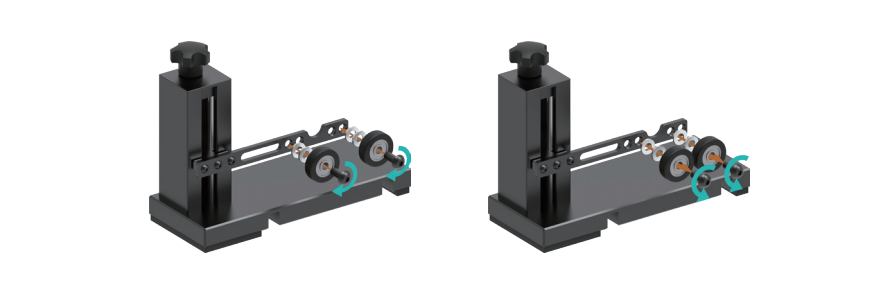
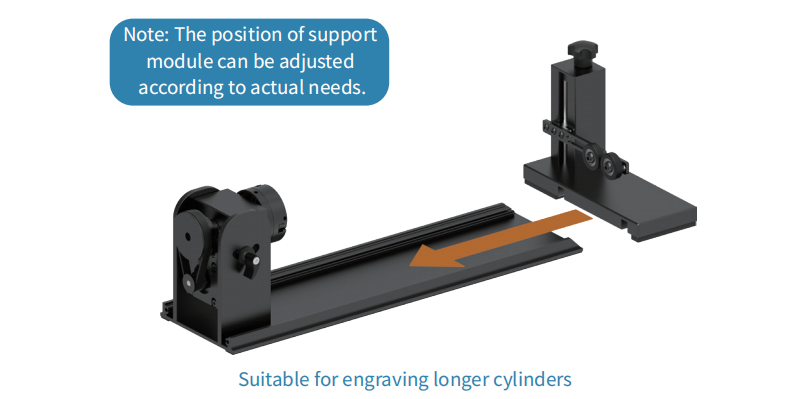
3.2.4 Support Module is Used in Conjunction with Rotary Pro
Note: The position of support module can be adjusted according to actual needs.
3.3 Step Jaw
3.3.1 Component
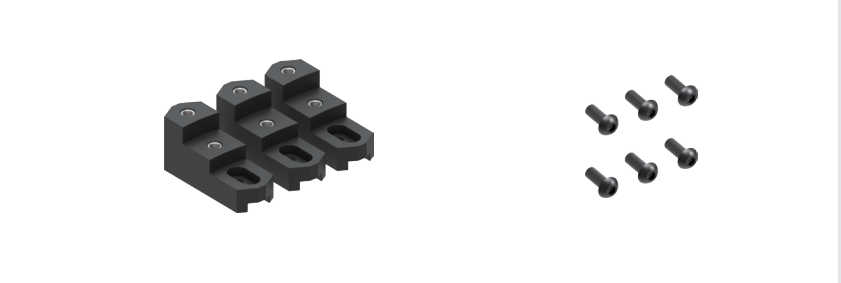
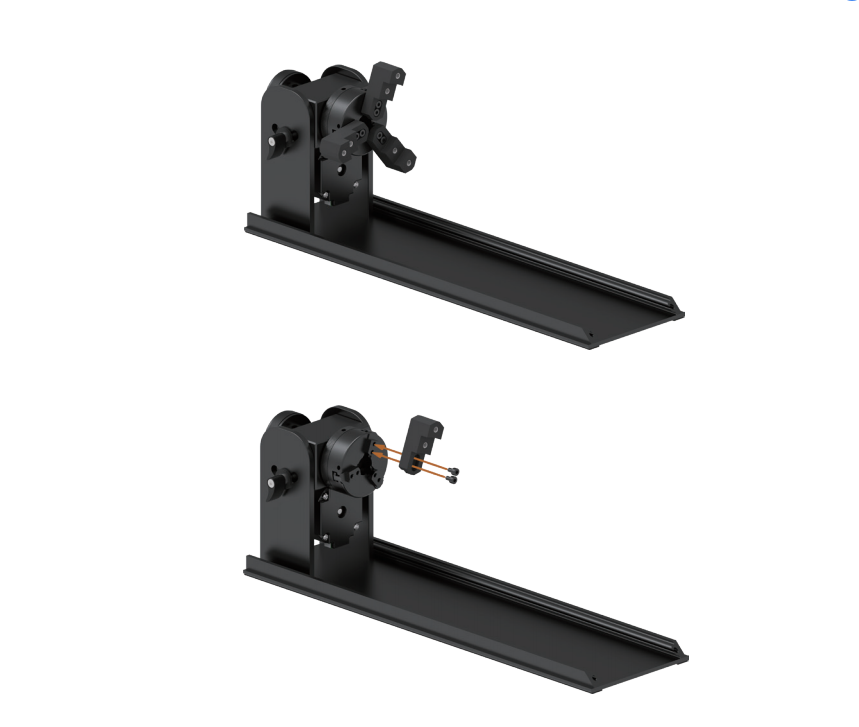
3.3.2 Installation
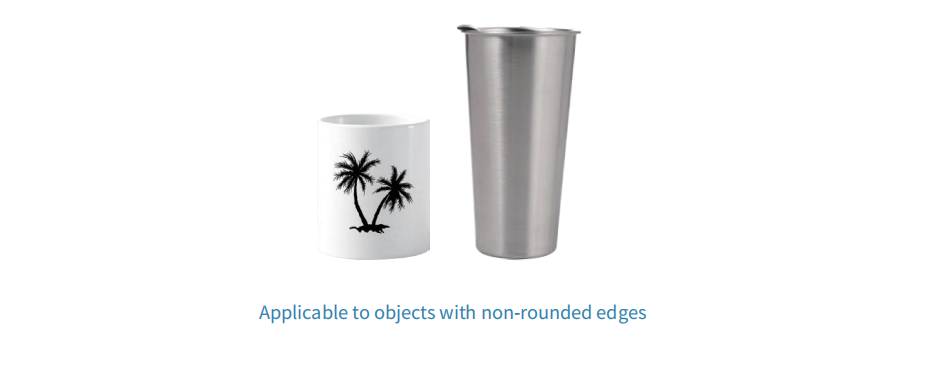
3.3.3 Applicable Objects (Reference)
3.4 M3 Stud
3.4.1 Component
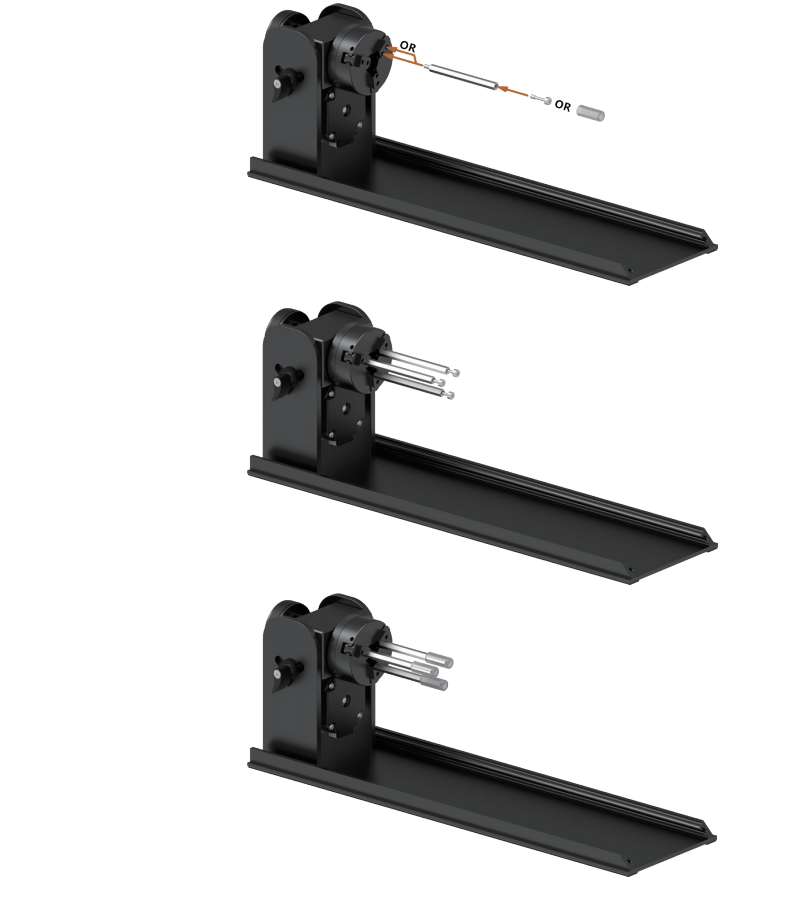
3.4.2 Installation
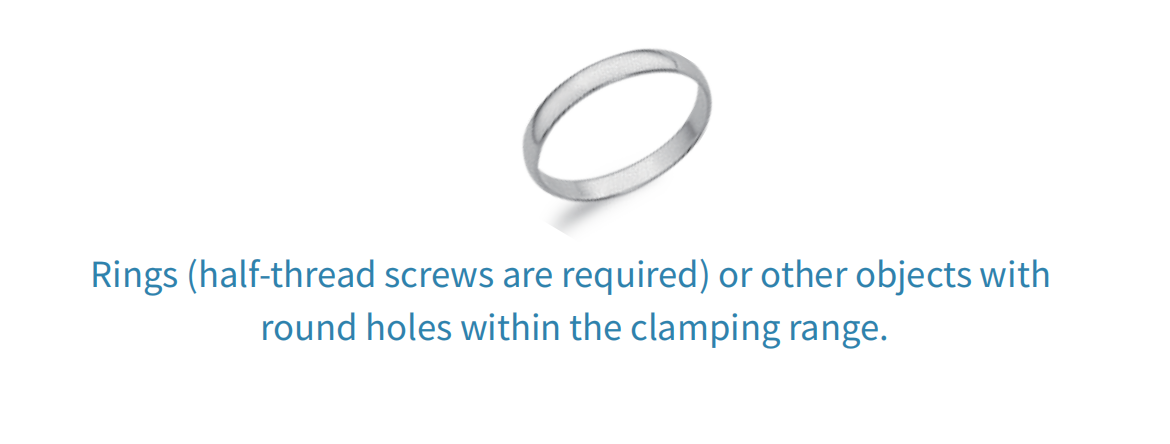
3.4.3 Applicable Objects (Reference)
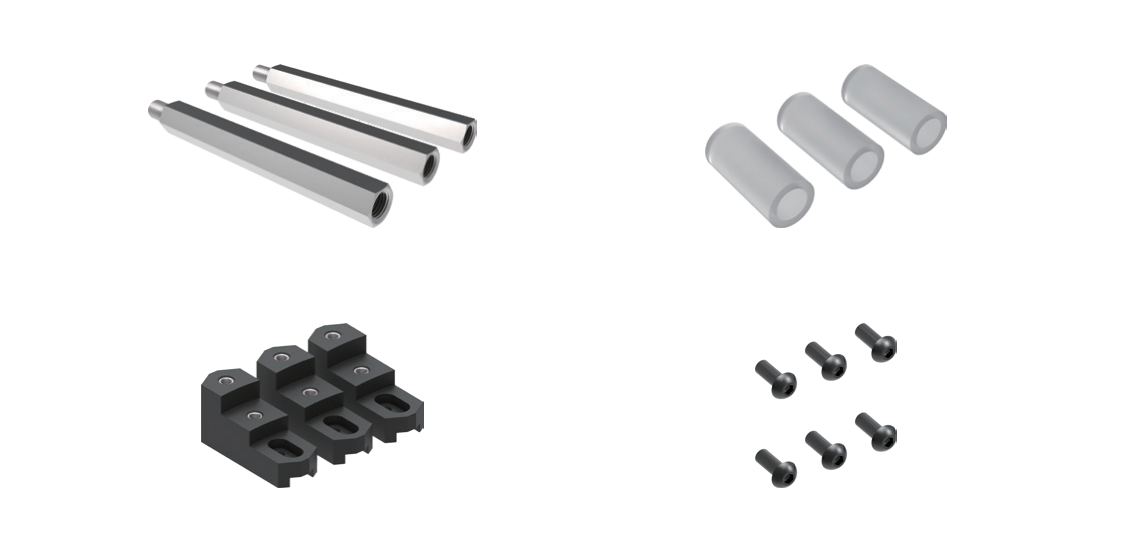
3.5 Step Jaw + M4 Stud
3.5.1 Component
3.5.2 Installation
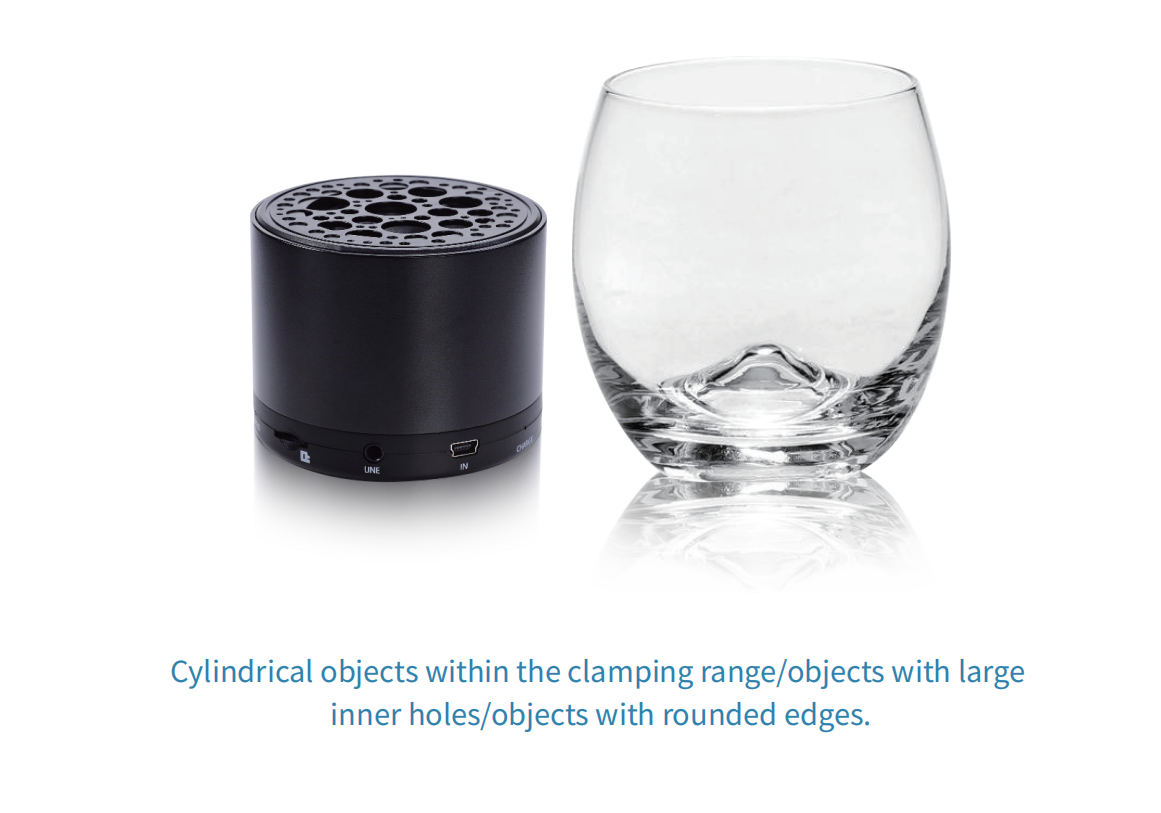
3.5.3 Applicable Objects (Reference)
¶ 4. How to test the rotation parameters of Rotary Pro
4.1 Choose a long and rigid cylindrical object and measure its diameter.
4.2 Clamp the object securely onto the chuck in an appropriate manner and use a level to ensure that its top surface is horizontal. Connect it to the laser engraving machine.
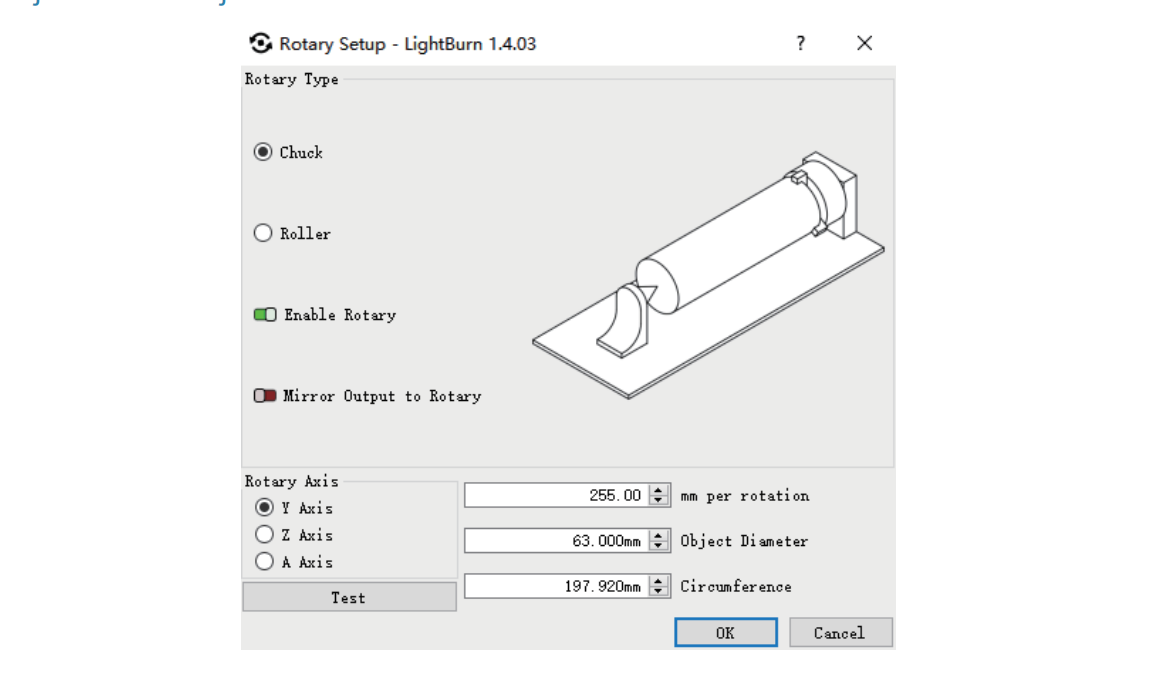
4.4 In the "mm per rotation" field, enter an arbitrary integer value such as 100, 200, etc. and click OK.
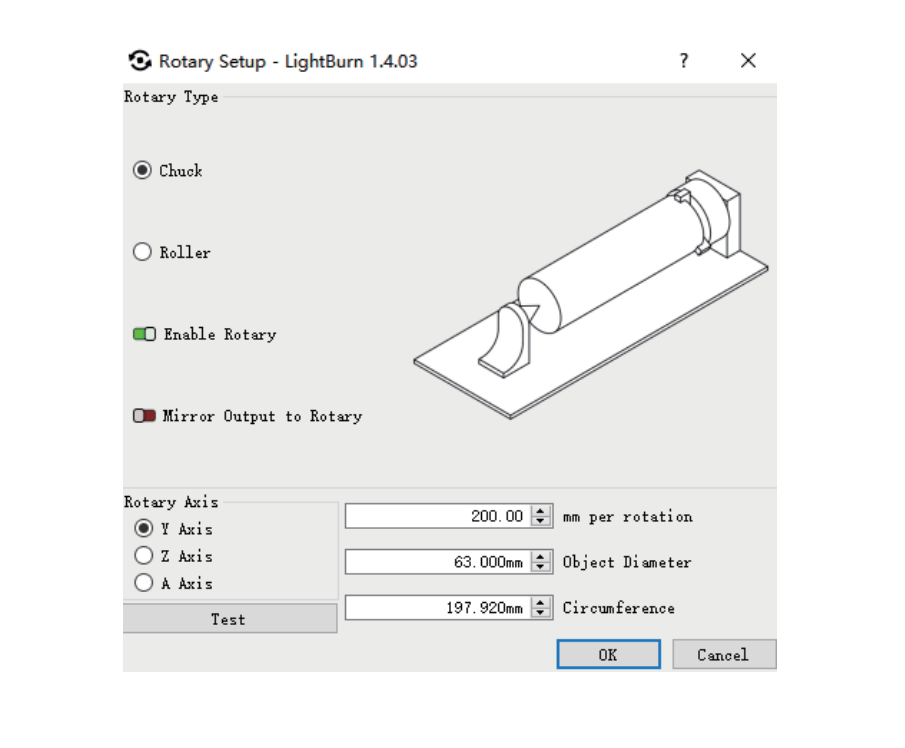
4.5 Draw a 30*30mm square on the canvas for engraving test. The specific parameters need to be determined according to the laser and material used by the user , but they need to be able to leave clear enough engraving marks on the surface to be engraved.
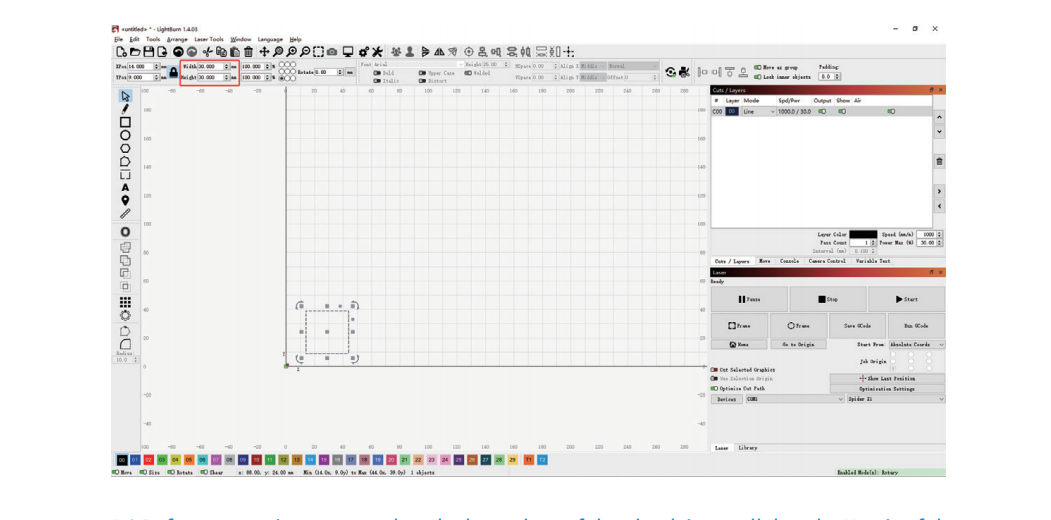
4.6 Before engraving, ensure that the baseplate of the chuck is parallel to the X-axis of the laser head. After engraving, measure whether the length of the square's sides, in the direction of chuck rotation, is 30mm (Note: it is not the length in the direction of laser head motion).
4.7 If it exceeds 30mm, decrease the parameter value of "mm per rotation" until the measured side length is 30mm.
4.8 If it is less than 30mm, increase the parameter value of "mm per rotation" until the measured side length is 30mm.
¶ 5. Rotary Pro lightburn parameters

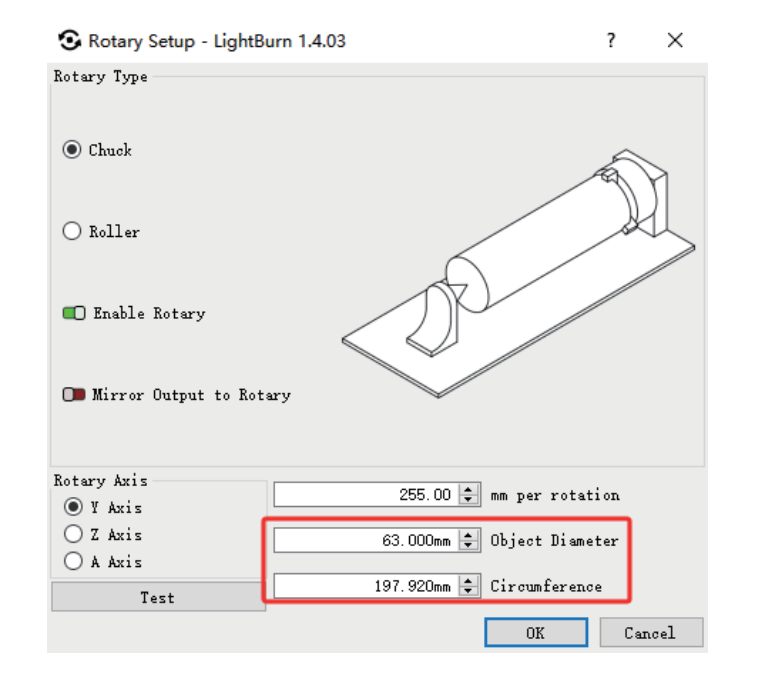
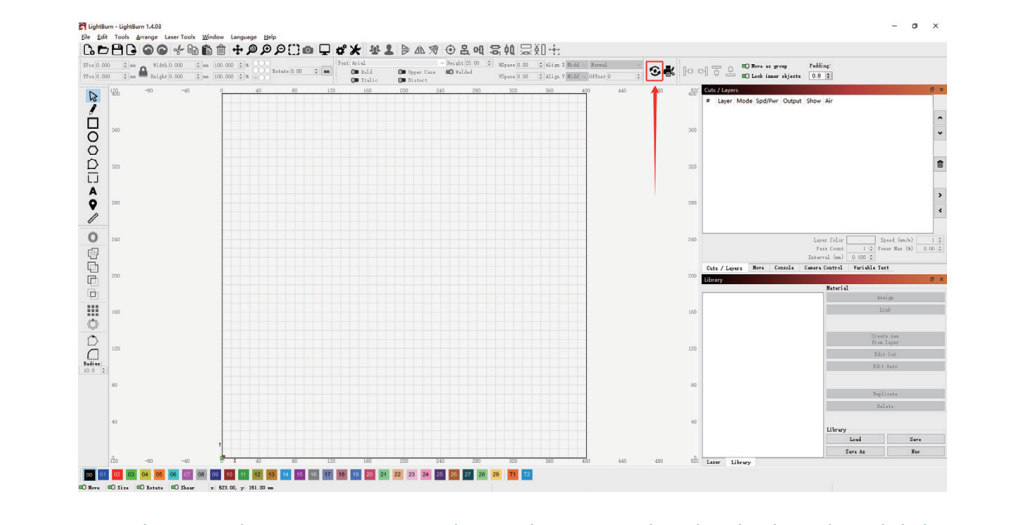
5.1 Open LightBurn and click on "Rotary Setup" in the top menu bar.
5.2 In the popped-up Rotary Setup window, make sure to select the Chuck mode and click on "Enable Rotary".
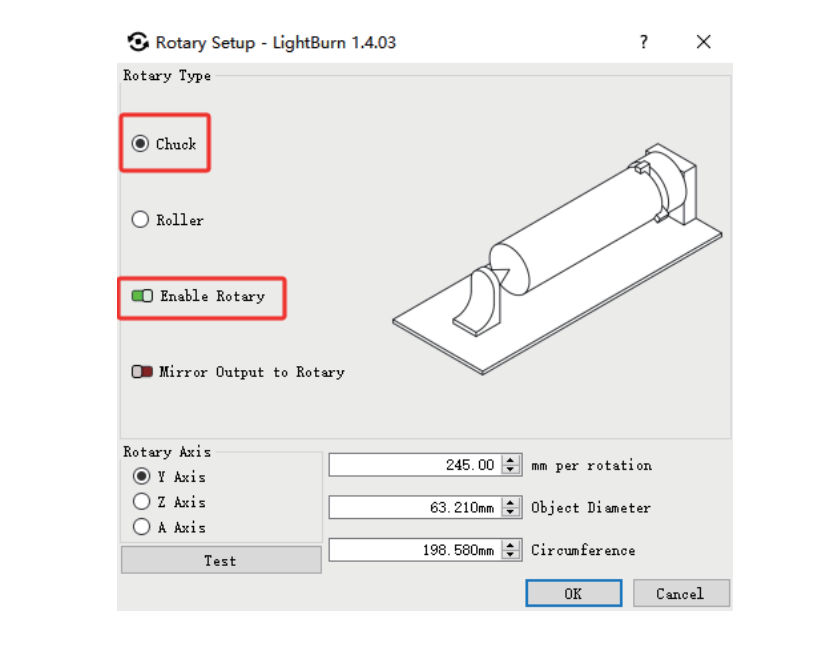
5.3 Set the Spider X1/X1S to Single Mode and then set the rotation parameter to "255 mm per rotation".
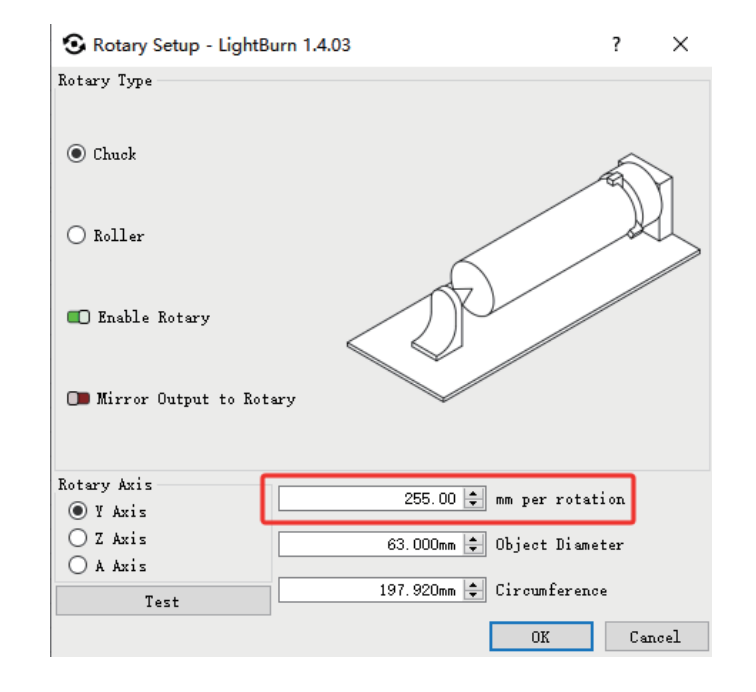
Tips: Rotary Pro is compatible with other laser machines. For example, XTOOL D1Pro sets the parameters to "95 mm per rotation". Other brands require users to test the rotation parameters by themselves.
5.4 In the Rotary Setup window, the "Object Diameter" should be measured based on the diameter of the object being engraved, and the corresponding diameter parameter should be entered. The "Circumference" below will be automatically calculated based on it.